
The “Day Zero” Hurdle: Why Most Home Fitness Journeys Fail
We’ve all been there. You wake up on a Monday morning, totally fired up to finally crush your home fitness goals. You roll out a dusty yoga mat, crank out three shaky push-ups, realize you have no clue what comes next, and by Tuesday night, you’re back to scrolling on the couch with a bag of chips.
The “New Year’s Resolution” graveyard is littered with half-used gear because most of us make the same mistake: we prioritize “beast mode” intensity over actual infrastructure. We try to go from zero to sixty in one session without a plan or the right tools. Look, starting from scratch is intimidating, but the secret isn’t some 60-minute “insanity” workout—it’s building a low-friction setup where working out actually feels easier than making another excuse.
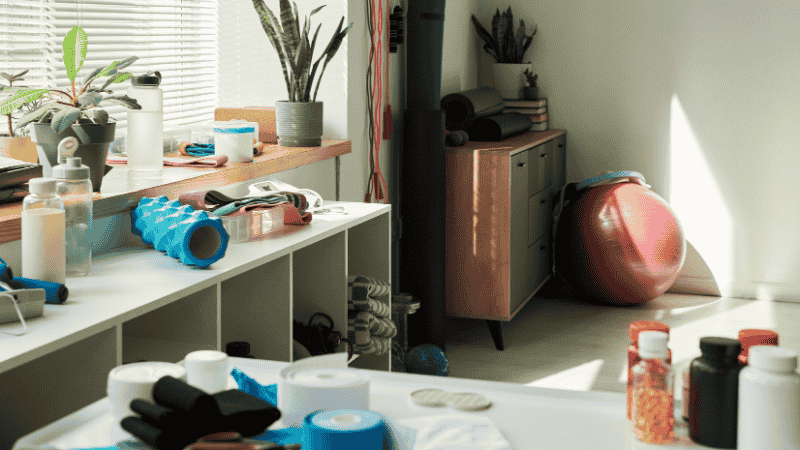
The “Invisible Gym” Shopping List: Top Recommendations
Best Overall: Adjustable Dumbbell Set
These are non-negotiable for “progressive overload.” If you aren’t adding weight over time, your progress will stall out in a month. They replace an entire rack of weights, keeping your living room clutter-free.
- Why it fits: It’s a one-time investment that grows with you from your first squat to your 100th.
Best for Beginners: Long Loop Resistance Bands
They’re low-impact, great for those “pulling” moves that are hard to do with bodyweight, and they’re almost impossible to get injured with.
- Why it fits: Perfect for building a “mind-muscle connection” without the intimidation of heavy iron.
Best for Small Spaces: High-Density Folding Mat
Get something at least 6mm thick. Your elbows and knees will thank you when you’re holding a 60-second plank on a hard floor.
- Why it fits: It slides behind a sofa or under a bed in seconds, making your “gym” truly invisible. Check out our Small Space Gear Guide for more.
Designing Your 6×6 Sanctuary: The Minimum Effective Setup
You don’t need a spare bedroom or a $5,000 budget to get results. You just need about the space of a rug and a few high-ROI pieces of gear that won’t end up as expensive paperweights.
- The Flooring: Don’t skip the mat. If you’re jumping on hardwood or that thin apartment carpet, your knees and ankles will start clicking before your muscles even get a workout.
- The Resistance: To actually see a change in the mirror, you have to challenge your body.
- The Secret Weapon: Resistance bands. These are “stealth” muscle activators. Toss them in a drawer and pull them out for a quick “pump” while you’re waiting for a Zoom call to start.
Real-Life Example 1: The “Studio Apartment” Win Take my friend Clara. She lives in a 400-square-foot studio. She thought a home gym was a total pipe dream until she realized she only needed a 6×6 foot patch of floor. By grabbing a pair of Adjustable Dumbbells and a folding mat, she created a gym that slides under her bed in 30 seconds.
Home Gym vs. Traditional Gear Comparison
| Gear Option | Price Point | Space Used | Versatility | Durability |
| Adjustable Dumbbells | $$$ | Minimal | Extreme | High |
| Fixed Hex Dumbbells | $$ | High | High | Indestructible |
| Resistance Bands | $ | Zero | Medium | Medium |
| Cardio Machines | Extreme | Low | High |
What Most Fitness Guides Get Wrong
Most generic guides tell you to “just start moving.” That’s how people end up wandering around their living room doing random jumping jacks for 10 minutes before getting bored and quitting.
The truth? You need Progressive Overload. Even at home, if you aren’t tracking your reps or slowly increasing your dumbbell weights, you’re just exercising, not training. Most guides also ignore “Spatial Friction”—if your gear is hard to set up, you won’t do it. Your setup needs to be ready in under 60 seconds.
The 4-Week “Zero Experience” Blueprint
Week 1: Just Show Up (The 15-Minute Rule)
Don’t worry about “burning fat” yet. Your only job is to put on your shoes and move for 15 minutes, three times a week.
Week 2: Master the “Big 4”
Focus on the moves that give you the biggest bang for your buck:
- Squat: (The Dumbbell Goblet Squat is the king of leg moves).
- Push: Push-ups or a simple overhead press.
- Pull: One-arm dumbbell rows (great for posture).
- Hinge: Glute bridges—don’t skip these if you sit all day.
Week 3: Feel the Burn
Now we talk about RPE (Rate of Perceived Exertion). On a scale of 1-10, your sets should feel like a 7 or 8.
Week 4: The Gear Level-Up
By week four, those “starting” weights will start to feel easy. This is the fun part: click your weights up by 5 pounds.
Common Beginner Mistakes: How to Stay in the Game
- Too Much, Too Soon: If you do a 60-minute “death workout” on Day 1, you won’t be able to sit on the toilet on Day 2. Ease into it.
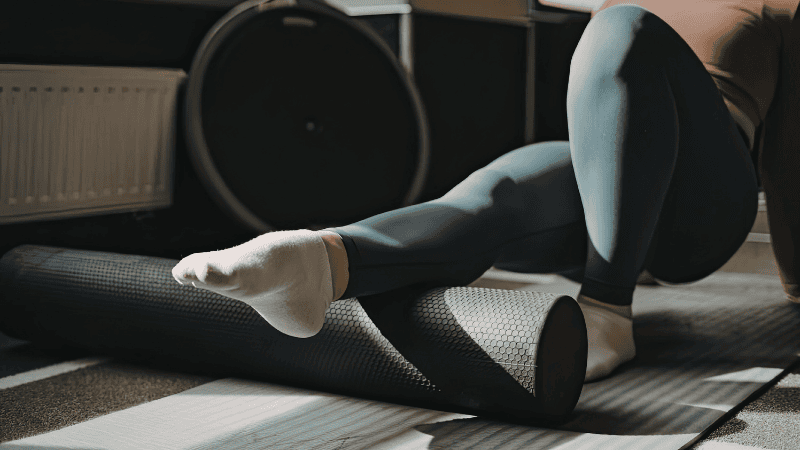
- Ignoring Recovery: Use a foam roller to work out the knots on your off days.
- The “Island” Trap: Find a “text buddy” or an online group to keep you honest.
Real-Life Example 2: The “Over-Eager” Mike Mike tried to copy a pro bodybuilder’s YouTube routine his first week. He ended up with a nasty shoulder tweak and quit for six weeks. We stripped him back to a basic “Big 4” routine with 15lb weights.
FAQ: The Honest Truth
1. Do I need shoes for home fitness? For jumping or HIIT? Yes. For slow, heavy lifting on a decent mat? I actually prefer being barefoot—it helps with balance and foot strength.
2. How much space do I really need? If you can lie on the floor and make a “snow angel” without hitting the coffee table, you’re good to go.
3. Can I lose weight without a treadmill? 100%. Strength training builds muscle, and muscle burns calories even while you’re sleeping.
4. How do I stop the kids/dog from interrupting? Involve them! Use the kids as “weights” for squats or keep a specific toy nearby that only comes out during “workout time.”
5. Do I need a bench for a home gym? Not immediately. A sturdy kitchen chair or even the floor (for “floor presses”) works fine for the first 4 weeks. Eventually, an adjustable bench is a great Level-2 purchase.
Final Checklist for Your Day 1
- [ ] The Space: Clear a 6×6 area.
- [ ] The Gear: Mat and at least one set of weights/bands.
- [ ] The Plan: Pick 4 moves and commit to 15 minutes.
- [ ] The Accountability: Tell one person you’re starting today.
Hi, this is a comment.
To get started with moderating, editing, and deleting comments, please visit the Comments screen in the dashboard.
Commenter avatars come from Gravatar.